"Welcome to Crest of a Star; these maps and other graphics are only for playing D&D type games. They are copyright and not to be used for other purposes. If you have them on your site, please remove them. Thank you."

"My maps are free. If you purchased them, you got scammed."
"Not for redistribution or resale. Hyperlinking from Pinterest or other such share sites is prohibited."


Posted


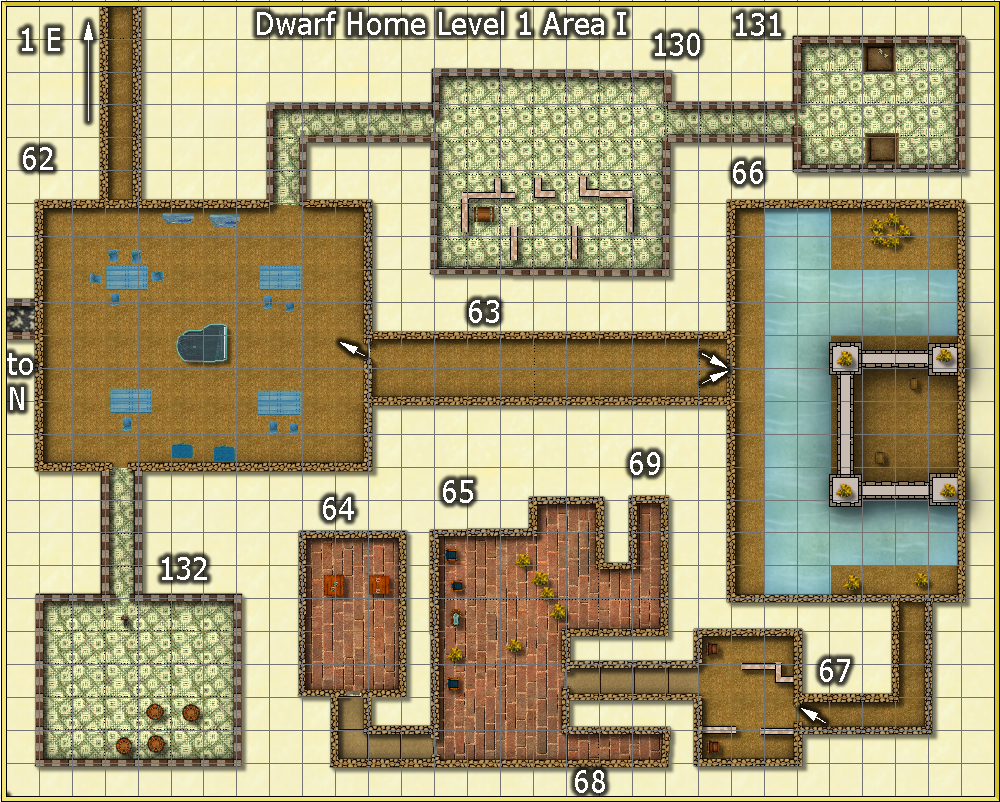
A loosely interpreted map of B4 The Lost City maps.

Map is 500 feet by 400 feet. Each grid square is 10 feet.


Author

Posted


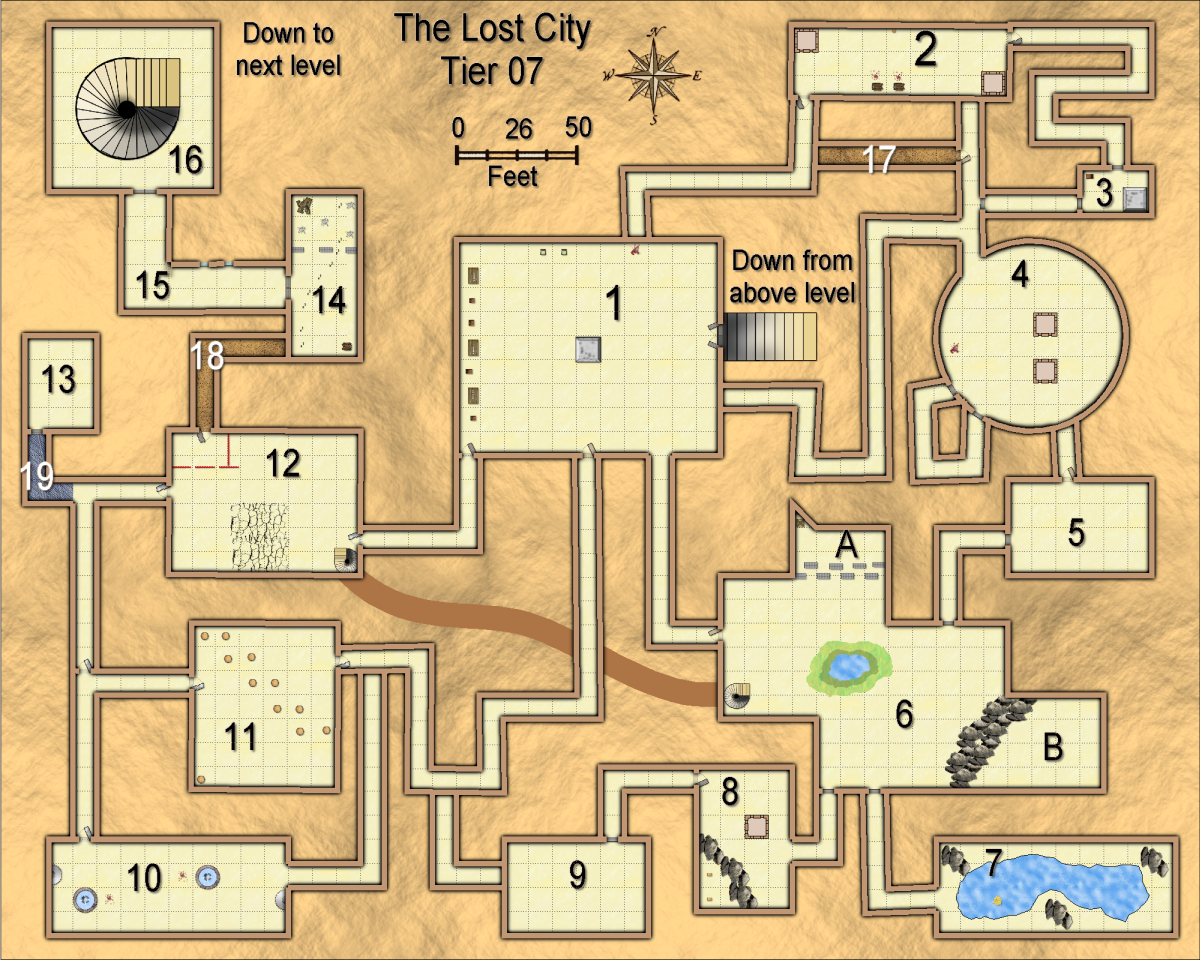
A loosely interpreted map of B4 The Lost City’s Tier 4 map.

Map is 500 feet by 400 feet. Each grid square is 10 feet.
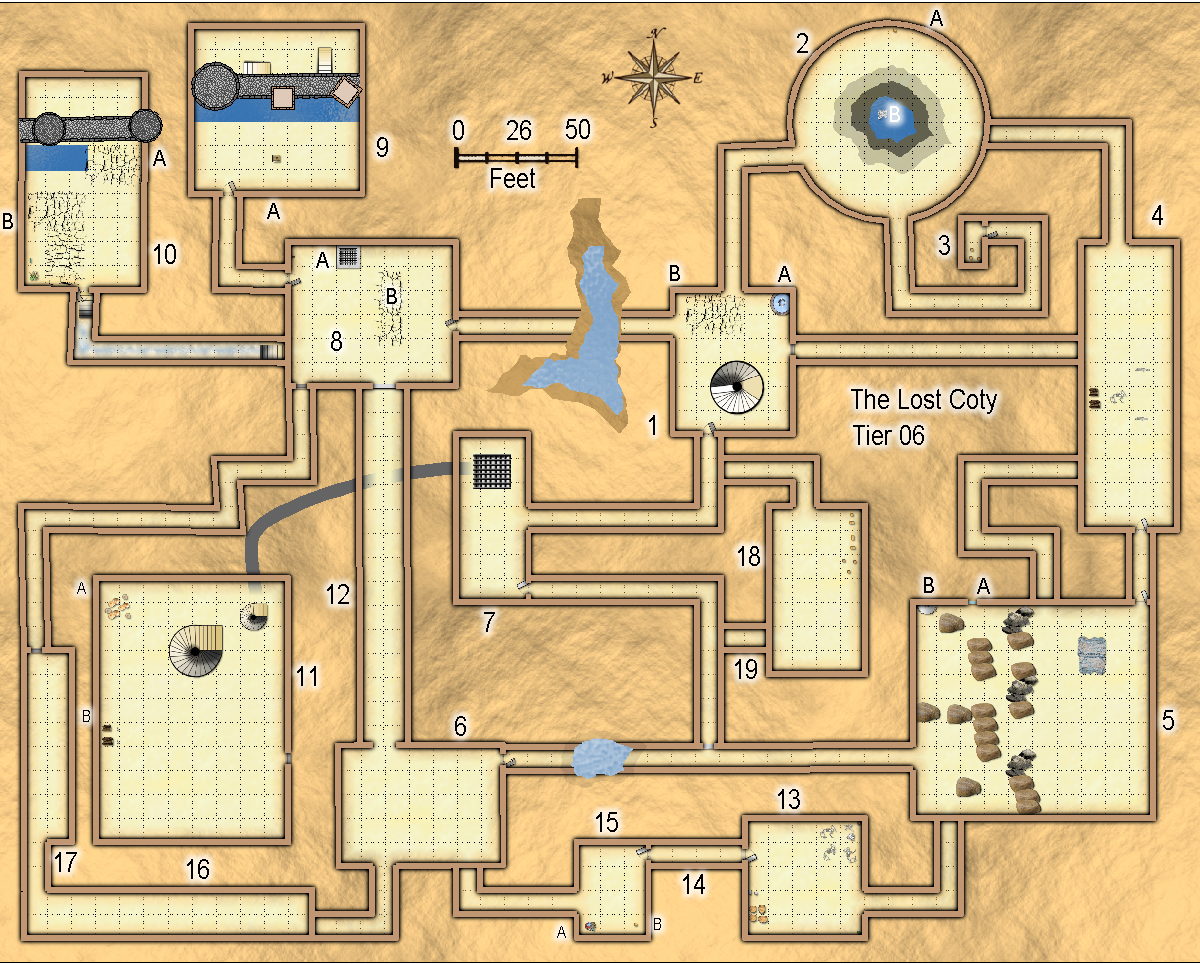


Some suggested room desrciptions.

Map is 500’ × 400’

Note that the room dimensions were chosen so a bullseye lantern wouldn’t light up the opposite walls for rooms larger than 80 feet.

Room 1) 50’ × 60’ Spiral stairs from above level. A) fountain B) cracked floor. Stepping on it drops the character one to two feet.

East door) reinforced wood.

South Door) reinforced metal, is open but can be closed.

Water area between rooms 1 and 8 is a ditch. The water looks swift but is illusional.

Room 2) Circular, 80 across. Coin mites mixed in with the silver coin pile. water is about 15 feet deep. Coin mites will attack anyone disturbing their coins. 1 hit point damage per bite. Hit with something flat, or Cure Disease, will get id of them. A) small box. It might have a monster, a trap, or a treasure in it. Or all three.

Room 3) 10’ × 20’, has three empty barrels. Scribbled on the side: “We beat you to the treasure !”

Room 4) 40’ × 120’ Two small piles of wood. Apparently a monster died defending the wood piles, and two adventurers died trying to take them.

South door) metal, swung open, cannot be moved.

West door) secret

Room 5) 100’ × 90’ Boulders and rocks looks they are set up for a defense line. A) A window, with the sunlight shining through. An illusion depicts a nice field with some trees. B) A large sawblade, 10’ awide, protruds from the wall. It is a fake, but is made of metal. One of the smaller rocks piles has a small chest under it.

North door) One not otherwise marked is a secret door.

Between room 5 and room 6 is a puddle of water. It could be shallow, it could be 20 feet deep. Up to the referee.

Room 6) 70’ × 60’ empty. A ranger might find tracks leading back towards the puddle.

Room 7) 30’ × 70’ Inside the cage is a spiral stair going down. A ‘ wide tunnel leads to room 11.

Metal door on east side, can be closed, but it is very squeaky.

Room 8) 70’ × 60’ A) cage partially covers a trap door. Drop is less than 5 feet, no secret doors. B) Cracks in floor drop anyone stepping on them 5 feet into 2 feet of water. The lever on the west wall, could activate the trap door, or just make noises to attrack monsters.

East and West doors are wood. The door leading to the steps down into water is a secret door.

Room 9) 70’ × 70’ A castle wall, with crenolations. The two square towers are solid rock, except one of the viewed from the north side looks like someone dug a hole and then hastily covered it up. Digging into it reveals a small wood chest with small gems and a few coins in it. The round tower has stairs leading down to the back ot the wall. The two small stairs lead up to the wall top.

A grappling hook tossed up to the round tower will remain secure for climbers, but the crenolations will let go, possibly when the character is over the illusionary moat.

Room 10) 50’ × 90’ A) step on the cracked rock and plunge into 15 feet of water. The moat is a painting. Programmed water gurgling sounds. B) Cracked floor drops anyone walking on it into 10 feet of water. The treasure is of mixed type; coins, gems, and magic items.

The small green trunk may or may not have a treasure, monster, or a trap.

The wall and towers conceal no treasures.

Room 11) 80’ × 110’ Large spiral stairs goes down to next level. The mushrooms upper left want everyone to be happy. So they spray Happy Spores onto anyone coming with 5 feet. The character so affected will want others to be happy to. Character can save vs. disease, or Cure Disease to get rid of the spores infecting them.

The two wood piles on the west side are torches guarde by two statues.

Room 12) 20’ × 150’ A long corridor/room. Paintings along the wall give the impression of a Grand Entrance to another room. But Room 8 is rather plain.

room 13) 50’ × 50’ Looks like 3 giant birds attacked someone guading this treasure. A pile of silver coins. The barrel is empty. The four barrels in the lower left may or may not contain something. Two small buckets of water are nearby.

Room 14) 40’ × 10’ skuff marks on the floor. No other debris or marks.

Room 15) 30’ × 40’ A is a pile of old clothes. A few low value coins are in a pocket or two. B is a small crate.

Room 16) 120’ × 20’ A room od paintings. If a character stares at one of them, the painting’s eyes will turn and stare at the character. If a character smiles back, the painting might smile back. Smile for too long and the painting’s teeth become very large. Secret door on the east end of the room.

Room 17) 20’ × 80’ There are paintings on the walls. No frames, just crude bits and pieces. Blod splotches n the floor.

Room 18) 40’ × 70’ Four small crates. And 3 barrels that for a triangle. Secret door to enter.

Room 19) 20’ × 10’ empty. Secret door to enter.

Author
Categories arcology

Posted

Some Links

Location          type          races that live there
Appleridge        village       half-elf, halfling
Ashenglass        village       half-elf
Berrygrow         village       halfling
Brinklin          village       halfling
Burlan            town          elf, half-elf, halfling, human
Cedarcrest        thorp         halfling
Crescentdell      village       halfling
Crystallon        town          half-elf, elf, halfling
Emerald Firth     seaport       dwarf, elf, gnome, half-elf, halfing, human
Frosthold         castle        elf, half-elf, halfling, human
Laborluck         village       half-elf
Nearhollow        river port    dwarf, elf, gnome, half-elf, halfling, human
Pleaston          village       halfling
Quietown          village       half-elf
Wedgeham          village       halfling

Author
Categories South Hemisphere


Privacy policy: I track IP addresses and pages looked at out of a vague curiosity to learn what pages are looked at on my site. After a set period, this information is deleted. No personal information is permanently kept.


[ Copyright © by Jim, 1980-2050. All Rights Reserved. ]

[ Except where noted, and where copyrights are held by others. ]